

You’re relaxed because, in a few weeks, you’ll be moving to an apartment that better suits your needs and a place that you can afford, but before doing this next phase in your life, there is a move-out cleaning checklist that you need to follow. Ideally, you need to leave your current place clean and without damage to have an impressive exit.
Given that you have outgrown the place or have financial or social reasons, you also need to remove all personal belongings that the next owner will not find useful. You will be able to get your security deposit back (if you’re a tenant) or price your house at a higher listing price if you’re the one selling property. Here are top cleaning tips that you can use as your guide in making sure you can do everything in your move out cleaning checklist.
https://www.pexels.com/photo/wooden-bench-and-stools-in-a-cozy-room-3049121/
Your Ultimate Move-Out Cleaning Checklist
Rule of thumb: clean the essential parts of the house from the top, such as high windows or even your light switches, to the ones seen at the bottom, such as carpet and the floor. Working this way will speed the job since dirt will fall from the top-down, whether this is something you will do all by yourself or hire a cleaning service company.
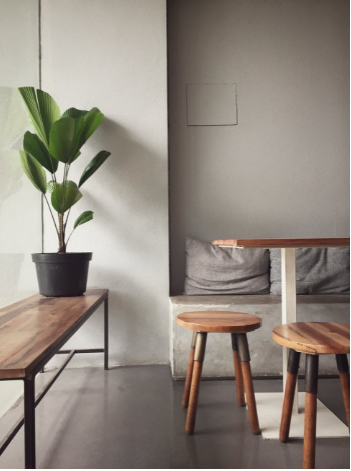
Move Out Cleaning Checklist for Bedrooms and Common Living Spaces:
Bedrooms, being your personal space, typically have your items, including a few pieces of furniture. Declutter your bedroom before starting the “broom clean” so you can take care of your clothes and the rest of your treasured items out of the way. Check each room to ensure that you don’t leave any important documents or even the ones you need to return to your landlord (if you’re a renter).
Secure your clothes’ boxes for safe storage and move them out ahead of time. Here are some important reminders you need to clean in the bedroom when moving out:
- Before you put your bedding away, make sure no unclean bedding is left.
- Wipe out the insides of cabinets and bookcases with a dry cloth first, then a moist cloth and multi-surface spray.
- Carpets and curtains should be steam cleaned, and hardwood floors should be mopped.
- Clean the space where you placed all your furniture. Also, don’t forget to clean under cabinet and bed spaces as dust or even trash may have accumulated.
- Light Fixtures and Ceiling Fans Should Be Dusted
- Windows, doors, mirrors, and other interior glass
- Covers for light switches and outlets.
- Dusting to remove cobwebs
- Blinds.
- Doors and Door Frames (including glass/French doors from the outside)
- Baseboards.
- Dusting the air intake and return vents

https://www.pexels.com/photo/bedroom-interior-setup-271624/
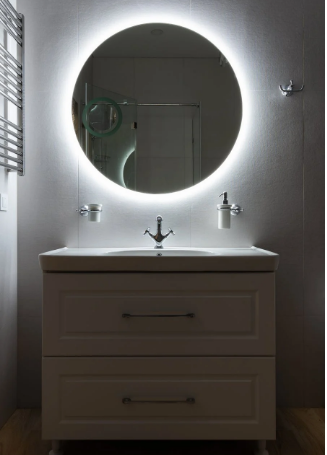
Prepare Your Cleaning Supplies for your Bathroom Cleaning
Put toiletries (big or small), cosmetics, toiletries, and even towels in one pouch or box before cleaning your bathroom. Keep only what you’ll need in the days leading up to your moving out.
Clean bathroom vanity
Wipe your bathroom vanity with an all-purpose spray. Spray the faucet with distilled white vinegar and polish it with a microfiber towel if it has breeched, for example. If necessary, do this to all of the cabinets and drawers in your vanity.
Disinfect toilet
Follow the proper professional cleaning procedure to ensure that no toilet rings are visible. After that, clean them using an all-purpose bowl cleaner or any cleaning DIY you know, such as vinegar, baking soda, and lemon. After you’ve finished scouring the toilet, wipe down all sides with a bleach-based cleaning spray. Since the bleach has a strong smell, feel free to leave a window agape or use a fan.
Scrub the Tub or Shower
Vinegar and dishwashing soap are your best friends when it comes to cleaning the bathroom, especially if you have a clogged bathtub or bath. To remove accumulation of mold, you can either hire a cleaning service or do it yourself if the cost is prohibitive. Don’t forget to clean the remainder of what you see in this area, especially the different bottles you have, which are notorious for accumulating soap scum. If you have a shower, clean the surround after each usage to remove any accumulated debris or grease.
Mirrors should be polished
If you leave streaks and fingerprints on your mirror, your landlord may get the idea that you didn’t do any cleaning at all. To polish a bathroom mirror, clean it with an ammonia-based glass cleaner, then wipe it down with dry lint-free cloth from top to bottom. Using a circular motion to wipe your mirror will ensure that it is free of any stain.
https://www.pexels.com/photo/contemporary-bathroom-interior-with-cabinet-under-mirror-at-home-6980730/
Clean the Vents
If you can’t use a circuit breaker, use a stool or stepladder and a can of pressurized air to clean your exhaust fan. Then, take off the cover and wipe the bathroom fan’s inside. This can be done with a dry or damp cloth.
Polish the Floor
After you’ve cleaned all of the bathroom furnishings in your apartment, make sure the floor is spotless. To clean faster and more efficiently, check sure there are no blockages and sweep up garbage. Then wipe the bathroom floors with soapy water.
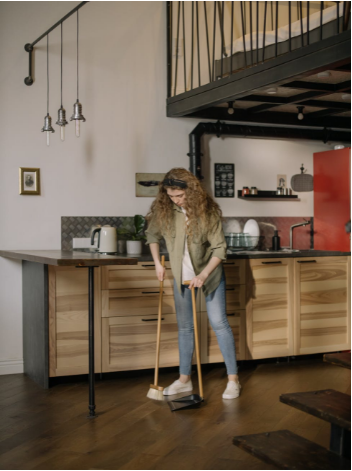
Move out Cleaning Checklist Includes Cleaning the Kitchen
Clean your kitchen by emptying it of all food. Perishables and a defrosting fridge/freezer are mostly not accepted by moving companies, so plan a few days.
When it comes to relocating big kitchen equipment, you should plan ahead of time. To avoid delays and make the procedure smoother, make sure you clean before moving out.
Here’s how you should get started in the kitchen:
To reduce food waste, empty your shelves and cupboards days before your scheduled move out.
After you’ve emptied the fridge, please give it a thorough cleaning and remember to move it to get to those hard-to-reach places. A microfibre cloth and hot, soapy water will do the job.
Pack any kitchen equipment, cutlery, or dishes into boxes that are clearly labeled. Then, to get every section of the room, clean the locations where they were previously placed.
Wipe out cupboards with a dry cloth before lightly spraying with a multi-surface spray and a damp microfibre to remove crumbs. If there are any stains or food residue that has been left for a long time, you may need to use some soapy water.
Thoroughly clean all equipment, including the interiors, such as the dishwasher filter.
Empty the tray and de-crumb the toaster on top.
Remember to clean the interior of the microwave as well. You’ll only need a wet microfibre for this, but you can also use a microwave to help release any persistent markings by steaming the inside with a bowl of water. As you would a dinner plate, clean the microwave turntable.
Using a multi-surface spray and a moist microfibre, clean and disinfect all of the counter-tops.
Wipe down the taps and faucets, removing any limescale deposits that have accumulated. You can do this by using an over-the-counter limescale remover, keeping it on for a few minutes, then rinsing it off. After that, buff with a dry cloth for a gleaming finish, and avoid using the limescale remover on any sensitive surfaces.
Clean the oven thoroughly. Wipe out the stove, switches, racks, polish all sinks and air extractors as well. You’ll also want to clean the inside of the oven with an oven cleaning agent. If you’re cleaning the oven, make sure to put some newspaper underneath it because the dripping substance can damage the floor. Prepare this task ahead of time because you may often apply the product ahead of time and let it soak overnight for the finest results.
https://www.pexels.com/photo/woman-in-gray-jacket-standing-beside-kitchen-counter-4108707/
Cleaning Checklist: Don’t Leave Anything Important Behind
If you have forgotten anything that the landlord will have to remove on your behalf, the expenses will automatically be taken off your security deposit. This means that before you leave, check storage locations, closets, drawers, and cabinets.
Don’t fail to return your keys
This is a step that many tenants overlook, and it costs them money. When you’ve finished your lease, contact your landlord to arrange a time to hand over the keys. Please make certain you give him everything you have, including the keys to your gate and mailbox. If you don’t, the landlord will charge you a replacement cost for each piece of the keys.
Take Care of the Walls
Many renters use extensible brackets to hold enormous works of art, such as paintings and furniture, up against the walls. However, when you remove these brackets while making your move out cleaning, they frequently leave big holes. Find a less destructive approach to showcase your artwork if at all possible.
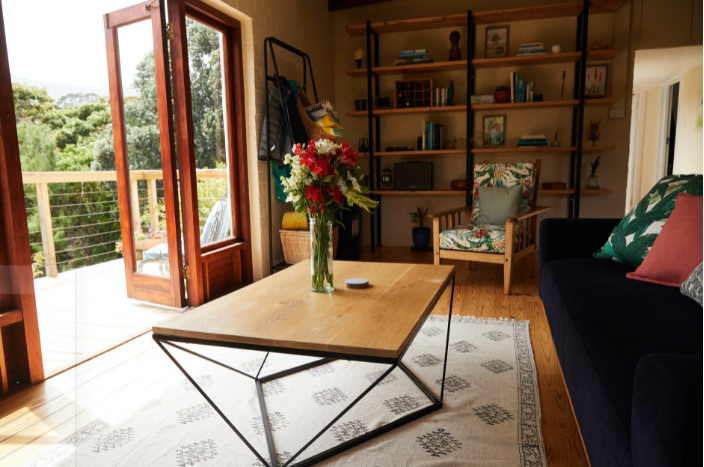
Pay attention to your laundry room and other areas in the apartment
Visit your washing machine and dryer to make sure no lint or any detergent marks are left uncleaned. You can scrub or mop the messes you see on the floor. Check your sliding doors for any possible defective locks going to your patio, and also vacuum any dirt or leaves that may have been stuck. Again, you can pay for a cleaning service or do this on your own.
https://www.pexels.com/photo/modern-room-with-creative-table-and-fresh-flowers-5792859/
Request for A Move Out Inspection with Your Landlord
After you’ve settled in your new place and you’ve transferred your possessions and cleaned the apartment, request that your landlord conduct a move-out inspection with you. Inquire about any damages with the landlord. Show your landlord the list you agreed on during your move-in inspection, as well as the photos you took if any pre-existing damages are discovered. Don’t forget to have a copy of your cleaning checklist so you can provide advice on what you have cleaned already. You can offer to repair new damages yourself or reduce the security deposit reduction amount. Any agreements should be written down so that your landlord isn’t tempted to break them.